
After putting it off for a good while, I've finally made a padded messenger bag for my laptop. This bag is designed to fit my oddly sized Averatec 2500 series laptop. It should fit most 12-13 inch laptops. I began by reading many tutorials on the Internet, and then measuring my laptop. Then I drew up a pattern in Illustrator, since I could use real inches instead of pixels. I printed the pattern and taped the pages together. Then I cut out the large pieces and started sewing. After creating the basic pattern, I also made some changes and last-minute decisions as I sewed.
Note: You can download a pdf pattern at the end of this post!
I used black canvas for the exterior of the bag. First, I traced the pattern pieces onto the black canvas.

Next, I traced the pieces onto the reverse side of 2. the quilted toille fabric:

Next, I placed the main body pieces, right sides together:

I then sewed around all edges but the one at the end of the front section of the bag. I turned right-sides out, and then layed the whole out next to the pattern to mark the lines. I stitched along the line at the base of the flap first. Next, I stitched up the line on the insides of the side:

I used the same type of foam that I used previously in my old laptop sleeve, and cut a piece the size of the back section of the bag. I slid it in through the side I left open, up until it was snug.

I did the same for the side flaps, and then sewed the line at the base of the back panel closed. Once all foam was in place in the main body of the bag, I had to close up the edge along what would end up being the top of the front panel. I did this by folding a piece of grosgrain ribbon over the edge and stitching it down. I don't have a photo of this step, but you can see it in the finished photo of the bag.
If you want to add the interior pockets to the divider, now is the time, after cutting out the piece, and before you assemble and pad the interior divider. After this, I padded the interior divider in a similar manner, and lined up it's side edges with the side edges of the back panel. I folded the main back piece into place, and pinned it all together. This made for quite a thick arrangement of layers, which I had to sew by hand, not having an industrial sewing machine.

In the close-up of all the layers pinned together, you can see a bit of toile showing through. This is the lining on the interior divider. I used upholstery thread for these main seams, so that it would be strong. I just caught a small amount of each layer of canvas with my needle as I stitched.
You will need a good thimble for this!
I decided, after the main body of the bag was complete, that I wanted to change the look of the flap. I made a sort of pouch out of some of the toile and pinned it over the edge of the flap:

I pinned some grosgrain ribbon over top of the edge, and then sewed up both sides of the ribbon. If you use a machine for this, you need to have a denim or heavy duty needle. I broke a medium weight needle sewing through this:
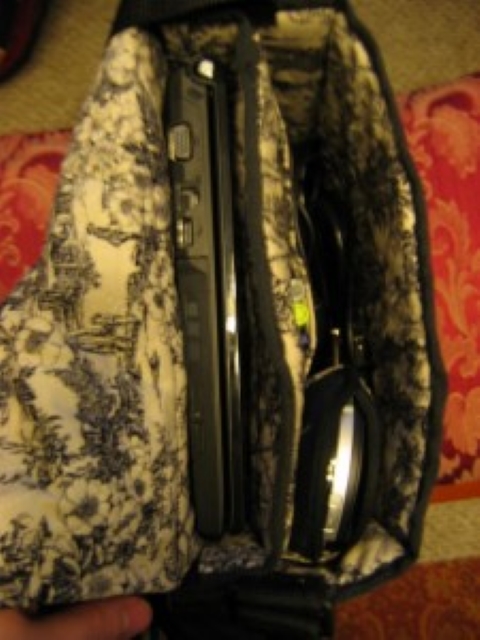
You can see it here, loaded with laptop, PSP, cables, and pens:
Now you can download the vertical messenger bag pattern (In pdf format), using the link below.
