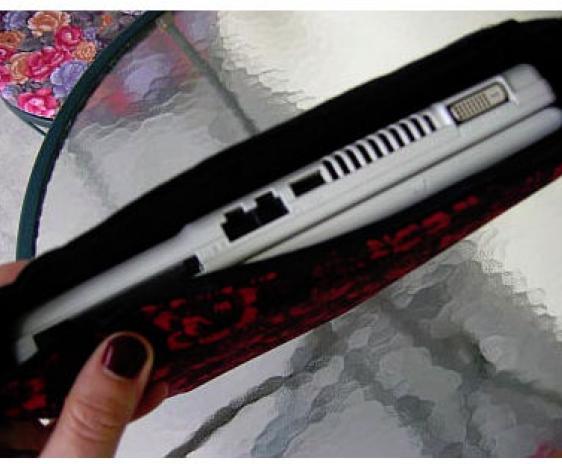
This is a simple laptop sleeve that I made for myself so I can carry the computer in any bag I choose. All fabric is solid black except for the rose print on the front. Here's a link to an image with more details and instructions included(it's large). Once this page loads, click "download" to get the full-sized image with instructions: http://celtic-chrys.deviantart.com/art/Chrys-Laptop-Sleeve-94414017
The steps:
- Cut 2 pieces of foam in the proper sizes. (Remember to make them larger than your laptop. At least add half of your laptop's thickness when closed to each measurement.)
- Cut 4 pieces of fabric slightly larger than your foam.(Must allow enough for a seam!)
- Use 2 pieces of fabric, and sew along three sides, making a large rectangular pocket. Do the same with the other two pieces of fabric. (Remember to keep the right-sides of your fabric together!)
- Turn your pockets-inside out, so that now you have finished edges on 3 of 4 sides.
- Slide 1 foam rectangle into each of the two fabric pockets you've made.
- Along the unfinished side of each rectangle, fold both sides of fabric inward and top-stich this side together. This is just like when you make a small cushion or similar.
- Now you have two fabric-covered foam rectangles. Place them together, and sew the fabric along 3 edges together.
- That's it! You've finished!
You could also make one side longer, and add velcro if you want to fold it over as a flap. Or you could make both sides slightly too long and add a zipper or velcro to have them close together. Be creative.

